When looking at the history of printmaking, we see evidence of this artform going back thousands of years and in many different cultures. The art of printmaking has evolved in the types of techniques used to achieve prints, and not only on paper but on other surfaces such as wood, metal, and glass. In this article, we will take you through the different techniques and applications as well as a little bit of the history behind this art form.
What is Printmaking?
Printmaking is an art form consisting of the production of images, usually on paper but occasionally on fabric, parchment, plastic, or other support, by various techniques of multiplication, under the direct supervision of or by the hand of the artist.
5 Types Of Printmaking
Woodcut
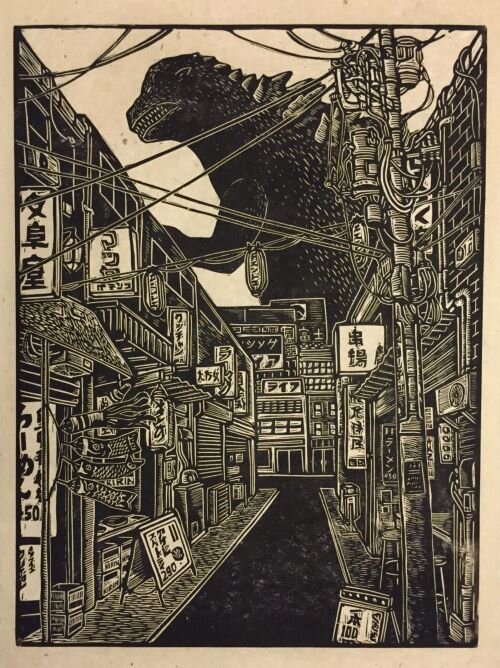
Woodcut Print by WoodcutEmporium
Woodcut printmaking was first used as a means to print books and create repeating patterns for textiles, and it eventually turned into an art form. The process of creating a woodcut print is by carving out negative space from a surface, leaving only the lines and shapes that you want to appear in the print, and then coat the remaining surface with ink. The next step is to place the inked surface on a piece of paper, and finally, create a print by placing pressure on the back of the block - with a roller, printing press, or other tools – to transfer the ink onto the page.
Engraving
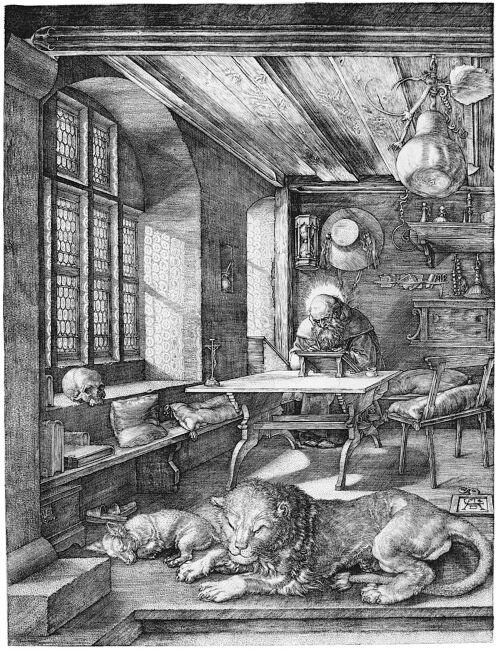
St. Jerome in His Study (1514), an engraving by Northern Renaissance master Albrecht Dürer
Engraving is the oldest and most difficult form of printmaking. Unlike relief printmaking (where ink is placed onto a surface) engraving involves making incisions or grooves in a plate, covering the plate with ink, and wiping the surface, so that the ink remains in the grooves. Then, the plate is placed in a printing press, which forces the paper into the plate’s grooves to pick up the ink. When the paper and plate are peeled apart, you’ll see that the ink has adhered to the paper.
The incisions in an engraving are entirely produced by carving into the plate by hand, which is why it’s one of the most challenging printmaking methods to master. The technique typically calls for the use of a burin - a steel rod with a sharp, oblique tip attached to a rounded top for the hand to firmly grasp onto – to draw into a metal plate.
Etching
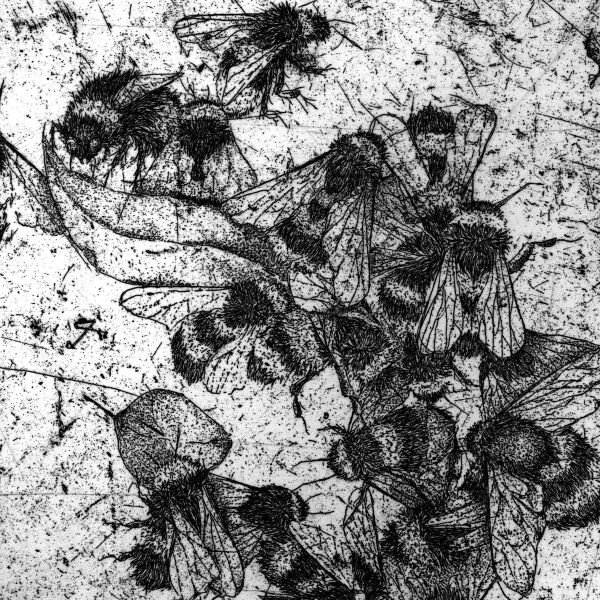
Graphic Etching “Surfeit” by DariaSobieskaGrafika
Etching is an intaglio printmaking process in which lines or areas are incised using acid into a metal plate in order to hold the ink. In etching, the plate can be made of iron, copper, or zinc.
The etching process involves incising marks into a plate through a process called biting. First, you cover a metal plate with a wax-like layer called the “ground.” Then, you draw your design onto the plate with a needle; no pressure is needed as you only need to scratch through the surface of the ground. When the drawing is finished, you coat the back of the plate with a varnish, then immerse the plate into acid. As the plate lays in the acid bath, the acid will eat away at the marks you made, creating fine incisions.
Lithography
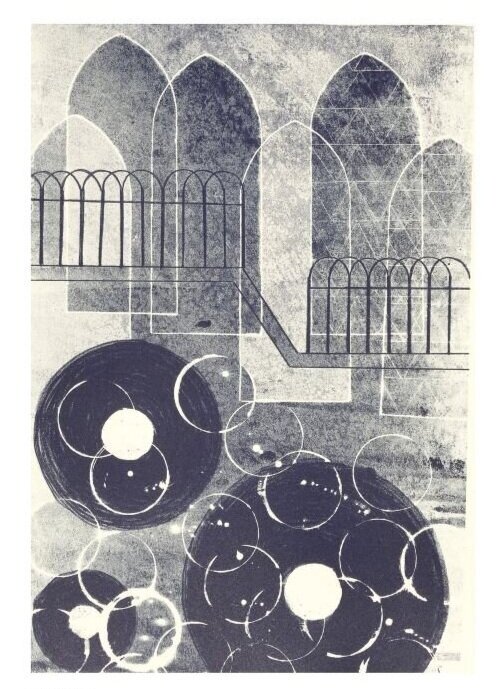
Lithography Print “Tea stall” by Chetanartindia
Lithographs, which were created in 1798 in Munich, are made with a large slab of limestone or metal plate and require an intensive process of developing an image on the stone or plate.
To begin making a lithograph first you need to prep the surface of the stone with grit, a sand-like dust, and a levigator, which is a heavy circle of steel that is attached to a handle. With some force, you start spinning the steel across the surface to grind it down a millimeter at a time. This is a crucial step for leveling the stone, which will provide an even print.
Next, the stone needs to be sensitized by dampening it and applying an acidic liquid across the entire surface. Then, the solution is rinsed off, and when dry, you apply a substance called “gum arabic” around the edges to create a border for the print area. Now you draw your image onto the stone with greasy tools such as a lithographic crayon or ink.
Once complete, you begin the transfer of the image onto the stone by an intensive process that involves layering talcum powder, resin, liquid-etch solution, gum arabic, and mineral spirits. Finally, you will ink the stone and print the image with help of a press.
All of these steps play a role in transforming the surface of the stone so that whenever a mark with a greasy material was made, the ink would stick to the surface of the stone.
Screen Print
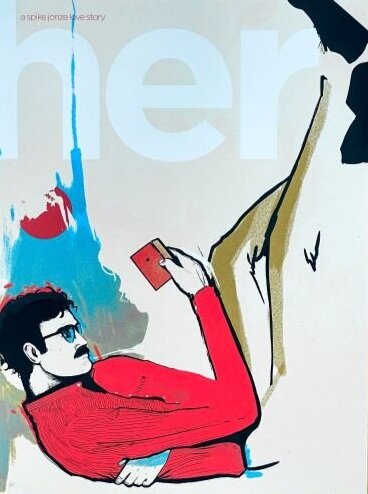
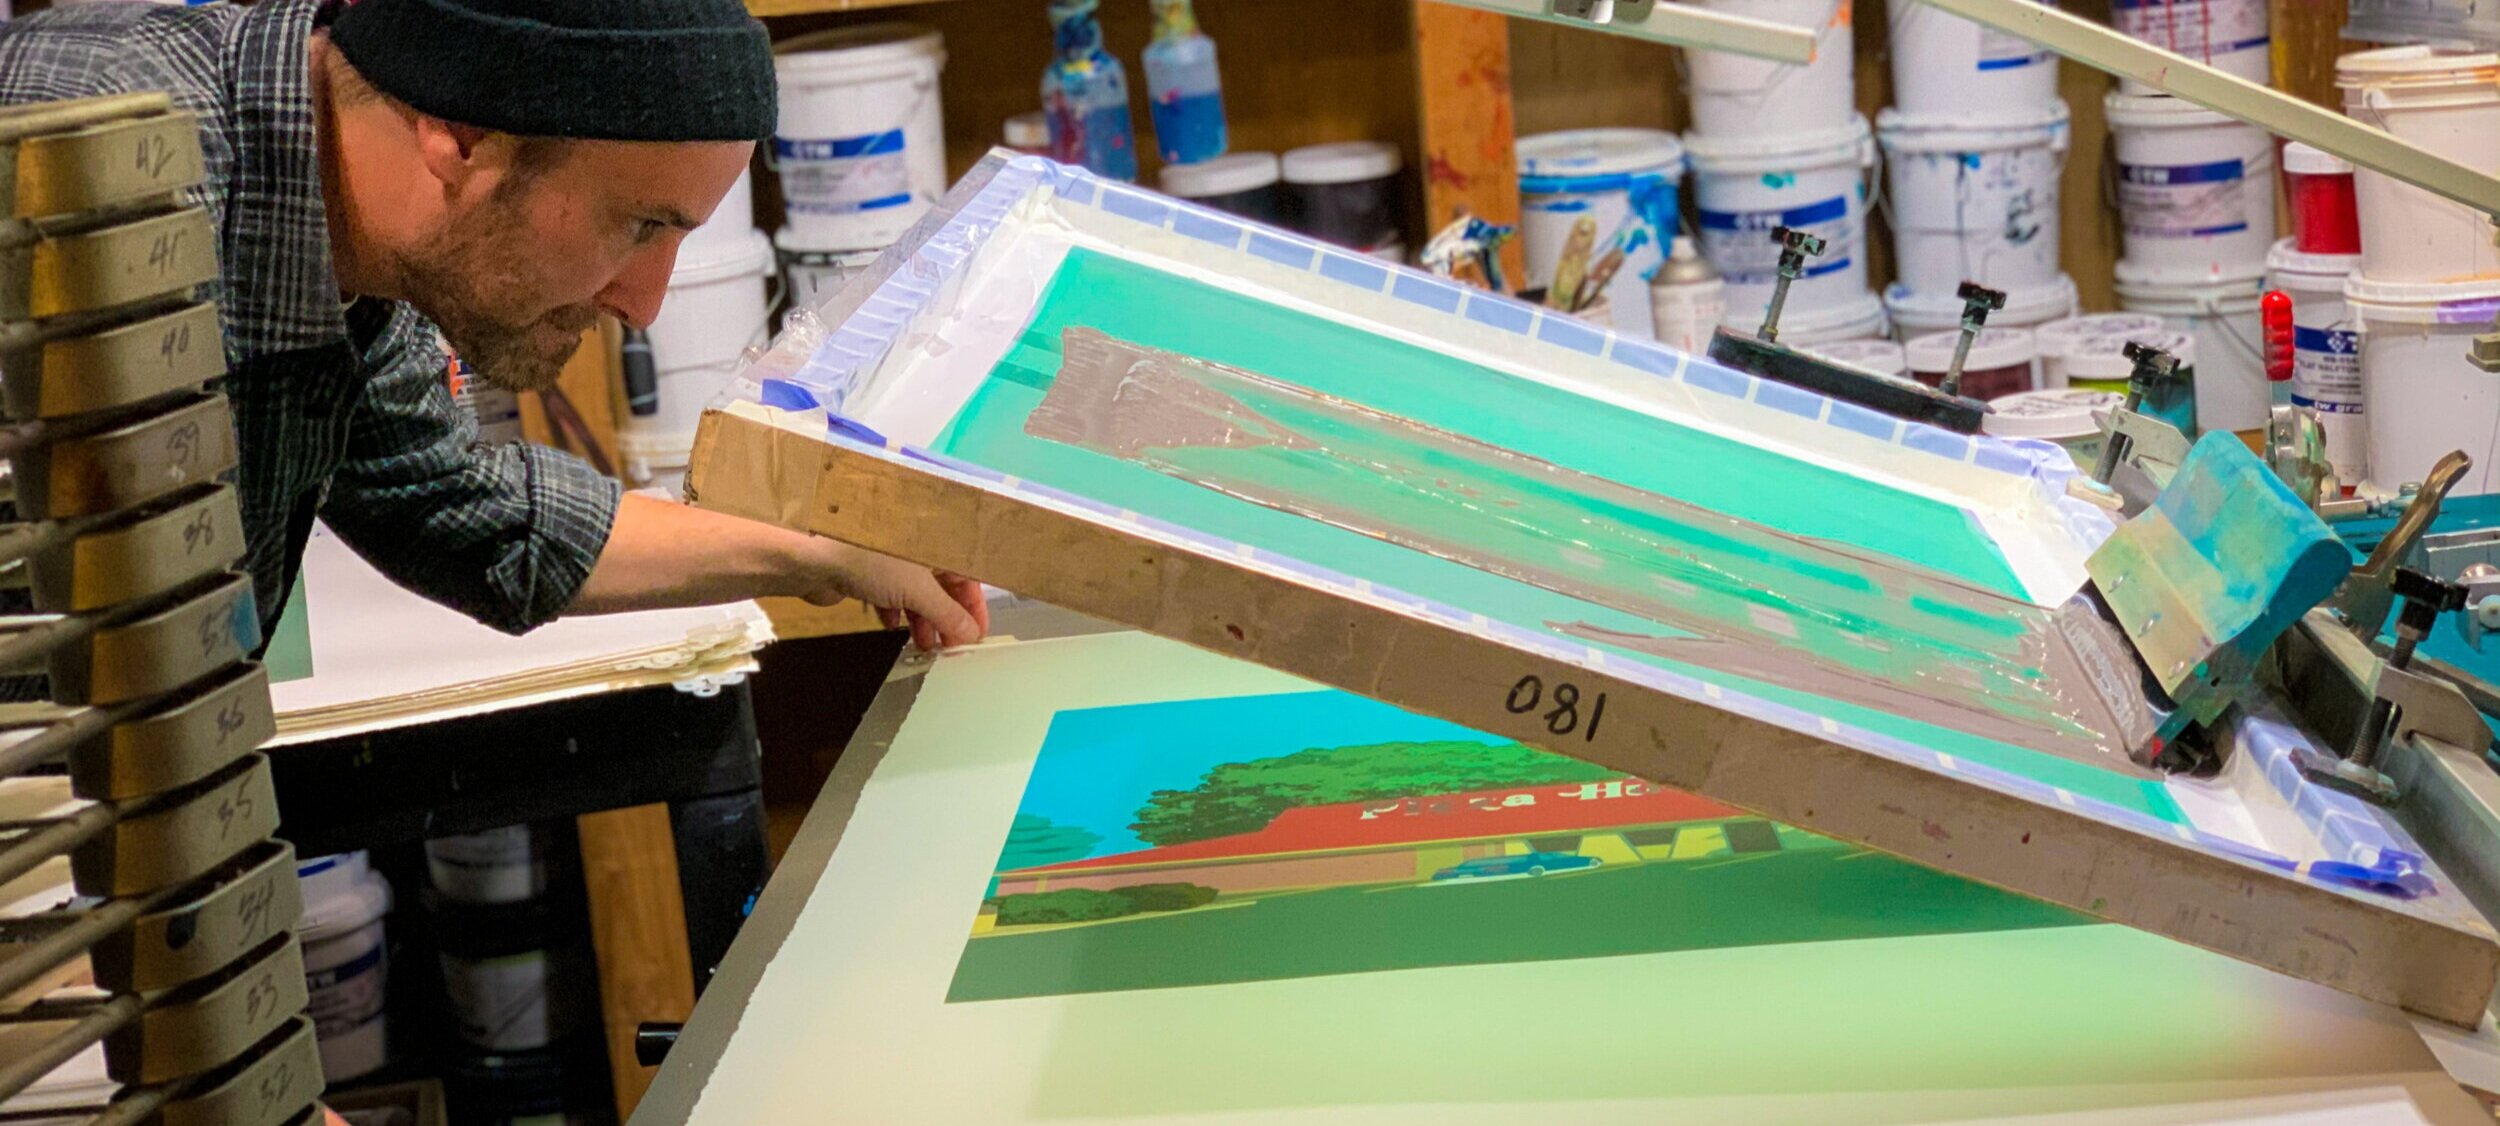
Screen Print - “Her” Illustration by Raphael Kelly Printed by Family Industries
Screen printmaking originated in China as a way of transferring designs onto fabrics, following this, the Japanese began using simple stenciling techniques as a way to create imagery. They would cut stencils out of paper and mesh was woven from human hair. They used stiff brushes to force ink through the mesh onto the fabric.
In the 1930s in New York, a group of artists began experimenting with screenprinting as an artistic medium by applying it onto paper. They coined the term ‘serigraphy’. Later in the 1960s Pop artists such as Peter Blake and Andy Warhol used screen printing as an essential element to creating their artwork. These artists established screen printmaking as a medium for creating contemporary art by popularising the method.
What is the process of Printmaking?
Screen Printing, also known as silkscreen printing is unique in the sense that the print isn’t made directly from the surface of the block or plate; instead, the image is printed through a screen mesh using stencils, and within this medium, there are a few techniques used to achieve specific prints. People new to screen printing often first learn how to create hand-cut stencils. In this method, you use an X-acto blade to cut out a design from a sheet of self-adhesive plastic film. Then, the shapes are positioned on the film to the bottom of a mesh screen and place on top of the paper.
At Family Industries we practice the art of screen printmaking, using stencils and exclusively on French Paper, the gold standard for screen printed posters. Screen printmaking is ideal for high-quality posters, art prints, and other types of flatstock. Screen printed posters are always a hit and are a great way to make small or large runs of your custom artwork. Whether you’re a band who needs tour posters or an artist looking for a premium-quality replication, the team at Family Industries takes great pride in our poster printing department.
Author: Irene Floridia - Content Creator
For questions, send us an e-mail at quotes@familyindustriesla.com, or give us a call at 323.227.1547 and we'd be happy to help.
Our showroom at 2755 Fruitdale Street, Los Angeles, CA 90039 is open by appointment only from 10 am - 4 pm Monday through Friday.